Have you ever tried etching? I have a project idea to share with you today. I used a recycled jar, some craft mirrors, glue and glitter and created a DIY snow globe. I used some small sisal trees but you can use any miniatures that you would like to put in your snow globe. Read on to see how!
******Follow this link to watch a video of Barbee explaining how to use etchall(R)
Materials you will need:
etchall(R): 16 oz. dip'n etch
etchall (R):etchmask
etchall (R) squeegee
tacky glue
white glitter
sisal trees (any other minis you want for your globe)
3" foam ball - halved
craft mirrors: 1/2" square, 2-1/2" round
trim: 1/2" silver
recycled plastic bottle or container with the top cut off. (slightly larger than the jar)
scrap paper
scissors
adhesive vinyl: red
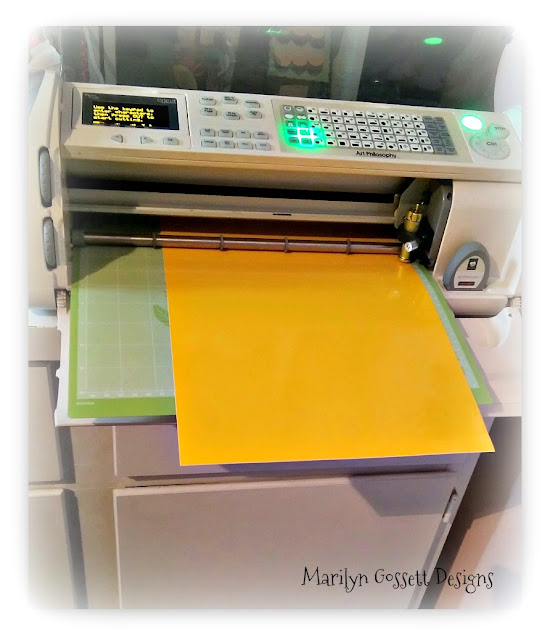
die-cut machine: cut the word "Believe"
marbles or rocks (for weighting the jar)
Directions:
1. Make sure your recycled jar is clean and sparkling! Don't forget the lid!
2. Use the die-cut machine to cut a 3" wide oval.
3. Adhere the oval to the jar. Use the Squeegee(R) to smooth out any air bubbles. Remove the transfer paper and discard.
Now you are ready to etch!
4. Add some marbles or rocks to the jar to give it some weight. Sit it in the recycled plastic container. Carefully pour the etchall(R) dip'n etch into the container. As you can see in the photo below, the liquid is very dark. That is a natural process with this product that happens over time. The product is still good! Go ahead and use it and make sure to save it for another use after you have your etch!
5. Set the timer for 15 minutes. If you need to adjust the jar in the etching liquid you can leave it in longer. When the time is up, remove the jar, remove the etchmask (discard), and wash thoroughly. Return the dip'n etch liquid to it's original container for another use.
6. Now comes the fun part! Invert the jar and adhere a round craft mirror to the (now) top of the jar. Adhere the smaller square mirrors around the sides as shown. I used a jar that had little square indents around the top and bottom which worked great for placing the mirrors. You could use large rhinestones for this step too. Apply a line of glue around the un-etched oval on the jar. Cover it with glitter. Also apply glitter around the mirrors. Careful not to get it too messy or your mirrors will slide off.
7. Trim the foam to fit the inside of the lid allowing room for the jar to screw back on. Adhere the foam to the lid. Adhere the trees to the foam and sprinkle heavily with glitter. Allow to dry.
8. I used my die-cut machine to cut out "Believe" from a red vinyl adhesive sheet. I used some transfer paper over the top of it and applied it to the jar as shown. Once all the air bubbles are rubbed out; remove the transfer paper.
9. Insert the trees into the jar; screw the lid in place. Finish by adding some silver trim around the sides of the jar lid.
10. I showed a variation at the top of the page. Let your imagination be your guide! Using recycled jars of all sizes make great snow globes for decorations and gifts.
Make sure to take the time to enjoy the small blessings along the way and
Live Life with a Flourish!
Merry Christmas!
Marilyn
I received complimentary product for this
blog in exchange for my creativity,


Adorable idea. Your tutorial was great. I liked showing how you could do a reversed etch with the dip. Especially a large area. Thanks again!!...Barbee...<{{}}><
ReplyDelete