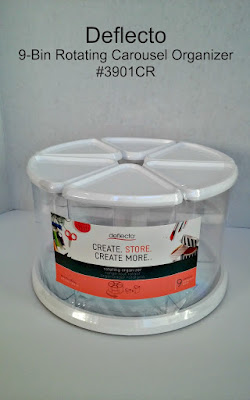
Deflecto has so many storage options for containing and storing a huge variety of supplies! I have used my carousels for many different things. This one I decorated for the space I am placing it in. I love that I have so many options with all of the beautiful memory papers and embellishments that are available. Read on and I will show you how I did it!
You will need:
Deflecto: 9-Bin Rotating Carousel Organizer, #3901CR
cardstock: 12" coordinating colors and prints, 6
wood: 1-1/4" ball knobs; 6; dowels or chopsticks to use as a handle for painting
acrylic paint: six colors to match patterned papers
paintbrush
paper trimmer
pencil
scissors
adhesives
water bucket
paper towel
Directions:
1. Cut a 5-1/2" x 12" rectangle using the paper trimmer. Insert in one 6" tall bin. Adjust so that the short edges come together in the V of the bin. Repeat for the other 6" tall bins.
2. Cut one 2-3/4" x 12" rectangle. Insert in one 3" tall bin as for the 6" tall bin. Cut a contrasting paper and repeat for another bin. Repeat for each bin, inserting your chosen patterned paper.
3. Choose the paints to pair with the patterned papers. Insert a wooden dowel in one ball knob. I use wooden disposable chop sticks. Use as a handle and paint the wooden knob. Place upright to dry. Repeat for each knob.
4. Decorate the lid: Lay one lid top down on the wrong side of cardstock. Use the pencil to outline the shape. Cut out inside the pencil lines and make it fit inside the lid edges. (About 1/4") Adhere to the lid. Repeat for each of the lids as shown in the photo given below.
5. Adhere the painted ball knobs to the tops of the bins as shown below. I used a stronger glue for this step. Tacky glue will work too.
Isn't this fun? There are so many design options for decorating these bins. I am using these for my small wood turnings and shapes. Let your imagination be your guide!
Take the time to enjoy the small blessings along the way and
Live Life with a Flourish!
Marilyn


