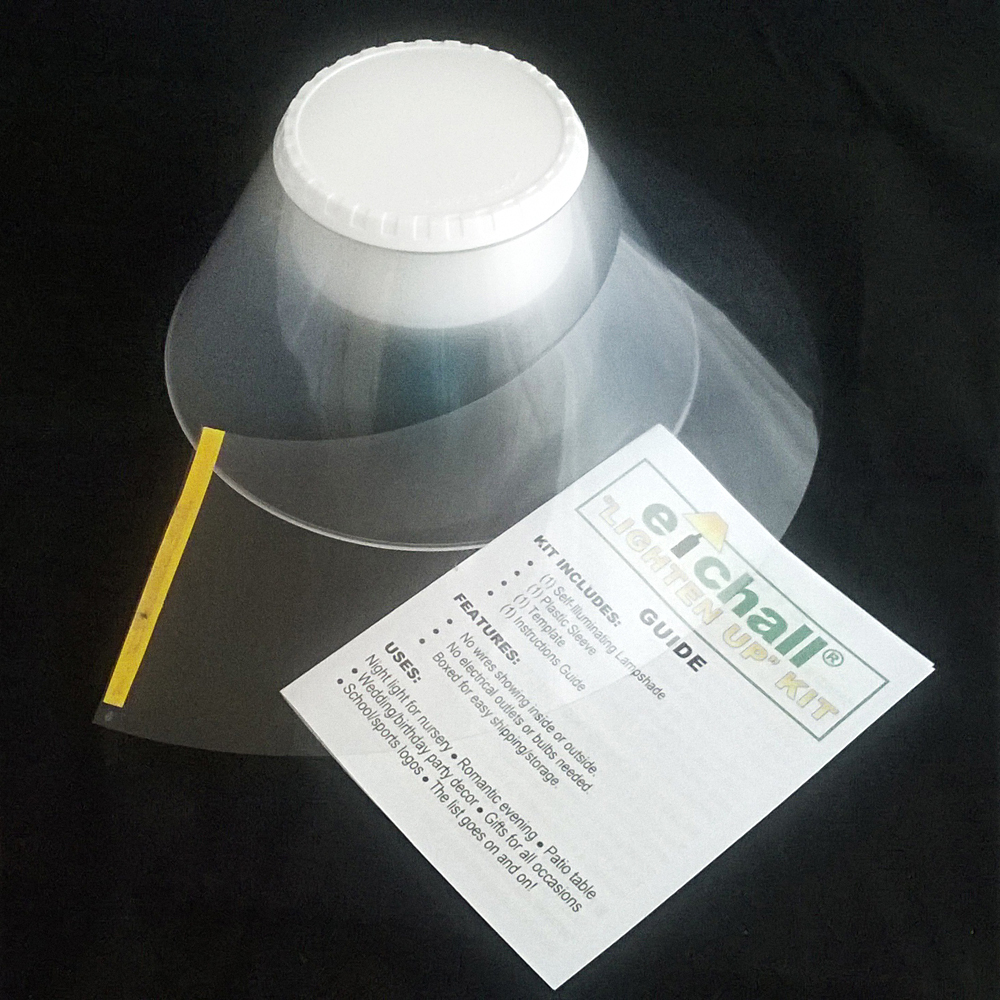
You will need:
- etchallR: Lighten Up Kit; dip 'n etch (pattern for shade in kit)
- 2 quart jar
- burlap: red
- fusible web
- iron and ironing board
- bead trim by the yard: red
- ricrac: red and blue
- chalk paint: red, blue, white
- painters tape
- paint brush: 1" flat
- cardstock: vintage white
- clear glitter
- tacky glue
- 1" star punch or die cut
- glue gun
- milk jug, cleaned out and top cut off (or container the right size to etch your glass)
- scissors
- ruler
- pencil
Instructions:
- Unpack the lampshade kit. Remove the pattern from the shade. Spread out.
- Press the fusible web following manufacturers instructions onto the burlap. Trace around the pattern onto the paper side of the fusible web using the pencil. Cut out. Remove the paper.
- Adhere the ribbon side of the trim to the (wrong side) bottom edge of the shade.
- Adhere the ricrac to the bottom edge of the (right side) of the shade. Adhere ricrac to the top edge of the shade.
- Stars: Punch out and apply glitter to the 1" stars. Allow to dry.
- Etch: Refer to manufacturers directions (and photo shown below) to etch the jar. Clean and dry.
- Use the ruler to measure from the bottom of the jar and make a mark at the same measurement around the perimeter of the jar. Wrap the painter's tape around the middle of the jar; following the marks. It is easy to get the tape on at an angle and you want to keep it straight.
- Paint the bottom of the jar blue. Let dry thoroughly. Remove the tape and apply another row of tape along the top edge of the blue paint. Tape off any other area that you don't want painted. Paint the top area white. Let dry.
- Remove tape; glue ricrac around the middle of the jar as shown in photo given.
- For the shade: Screw the lid back on the jar. Adhere a wooden spool, dowel or candle cup to the top of the lid. Make sure that it is the right size to fit in and activate the lamp. If it is too tall, make a hole in the lid to shorten the length of the spool. Read the instructions for turning the lampshade on and off. Adhere the stars to the shade.
Supplies
Refer to manufacturer's directions and etch the jar. I turned the jar upside down and weighted the top to etch the top of the jar as my receptacle wasn't large enough and I used the entire bottle of dip 'n etch liquid.
**IMPORTANT: Return the dip 'n etch liquid back to the original bottle after use. It will turn a dark color but is still good for more use.
Follow instructions given above to paint and finish the lamp. Below is another photo of the finished lamp and shade. It is ready for my summer activities on the deck. This is the perfect little light to create some ambiance after dark. I hope you are inspired to make one for yourself.
I hope you are enjoying spring and looking forward to a great summer packed with activities.
Make sure to take the time to enjoy the small blessings along the way and
Life Life with a Flourish!
Marilyn
etchall provides product and a small
stipend in exchange for my creativity.


Wow Marilyn. Usually I don't like most people's 'themed' creations because they tend to look kitschy and average. But YOUR Patriotic lamp is lovely - it's look great! I am going to have to try some Etchall! ( would you believe I have never used it?)
ReplyDeleteThank you, Roberta! Lol. I am basically an etchall beginner too! I met Barbee many years ago but just never took the etching plunge. You should try it! It opened up a different part of my brain! And..thanks for leaving a comment. I appreciate it! ps. etchall's new little lamp shades are very cool. Price point isn't bad either!
Delete